
Creating a Board
You create a new board from the home screen: unlock editing (a long press on the lock button) and tap New board in the "My boards" category. A "How would you like to create the board?" screen opens with the following options — pick one to get started.
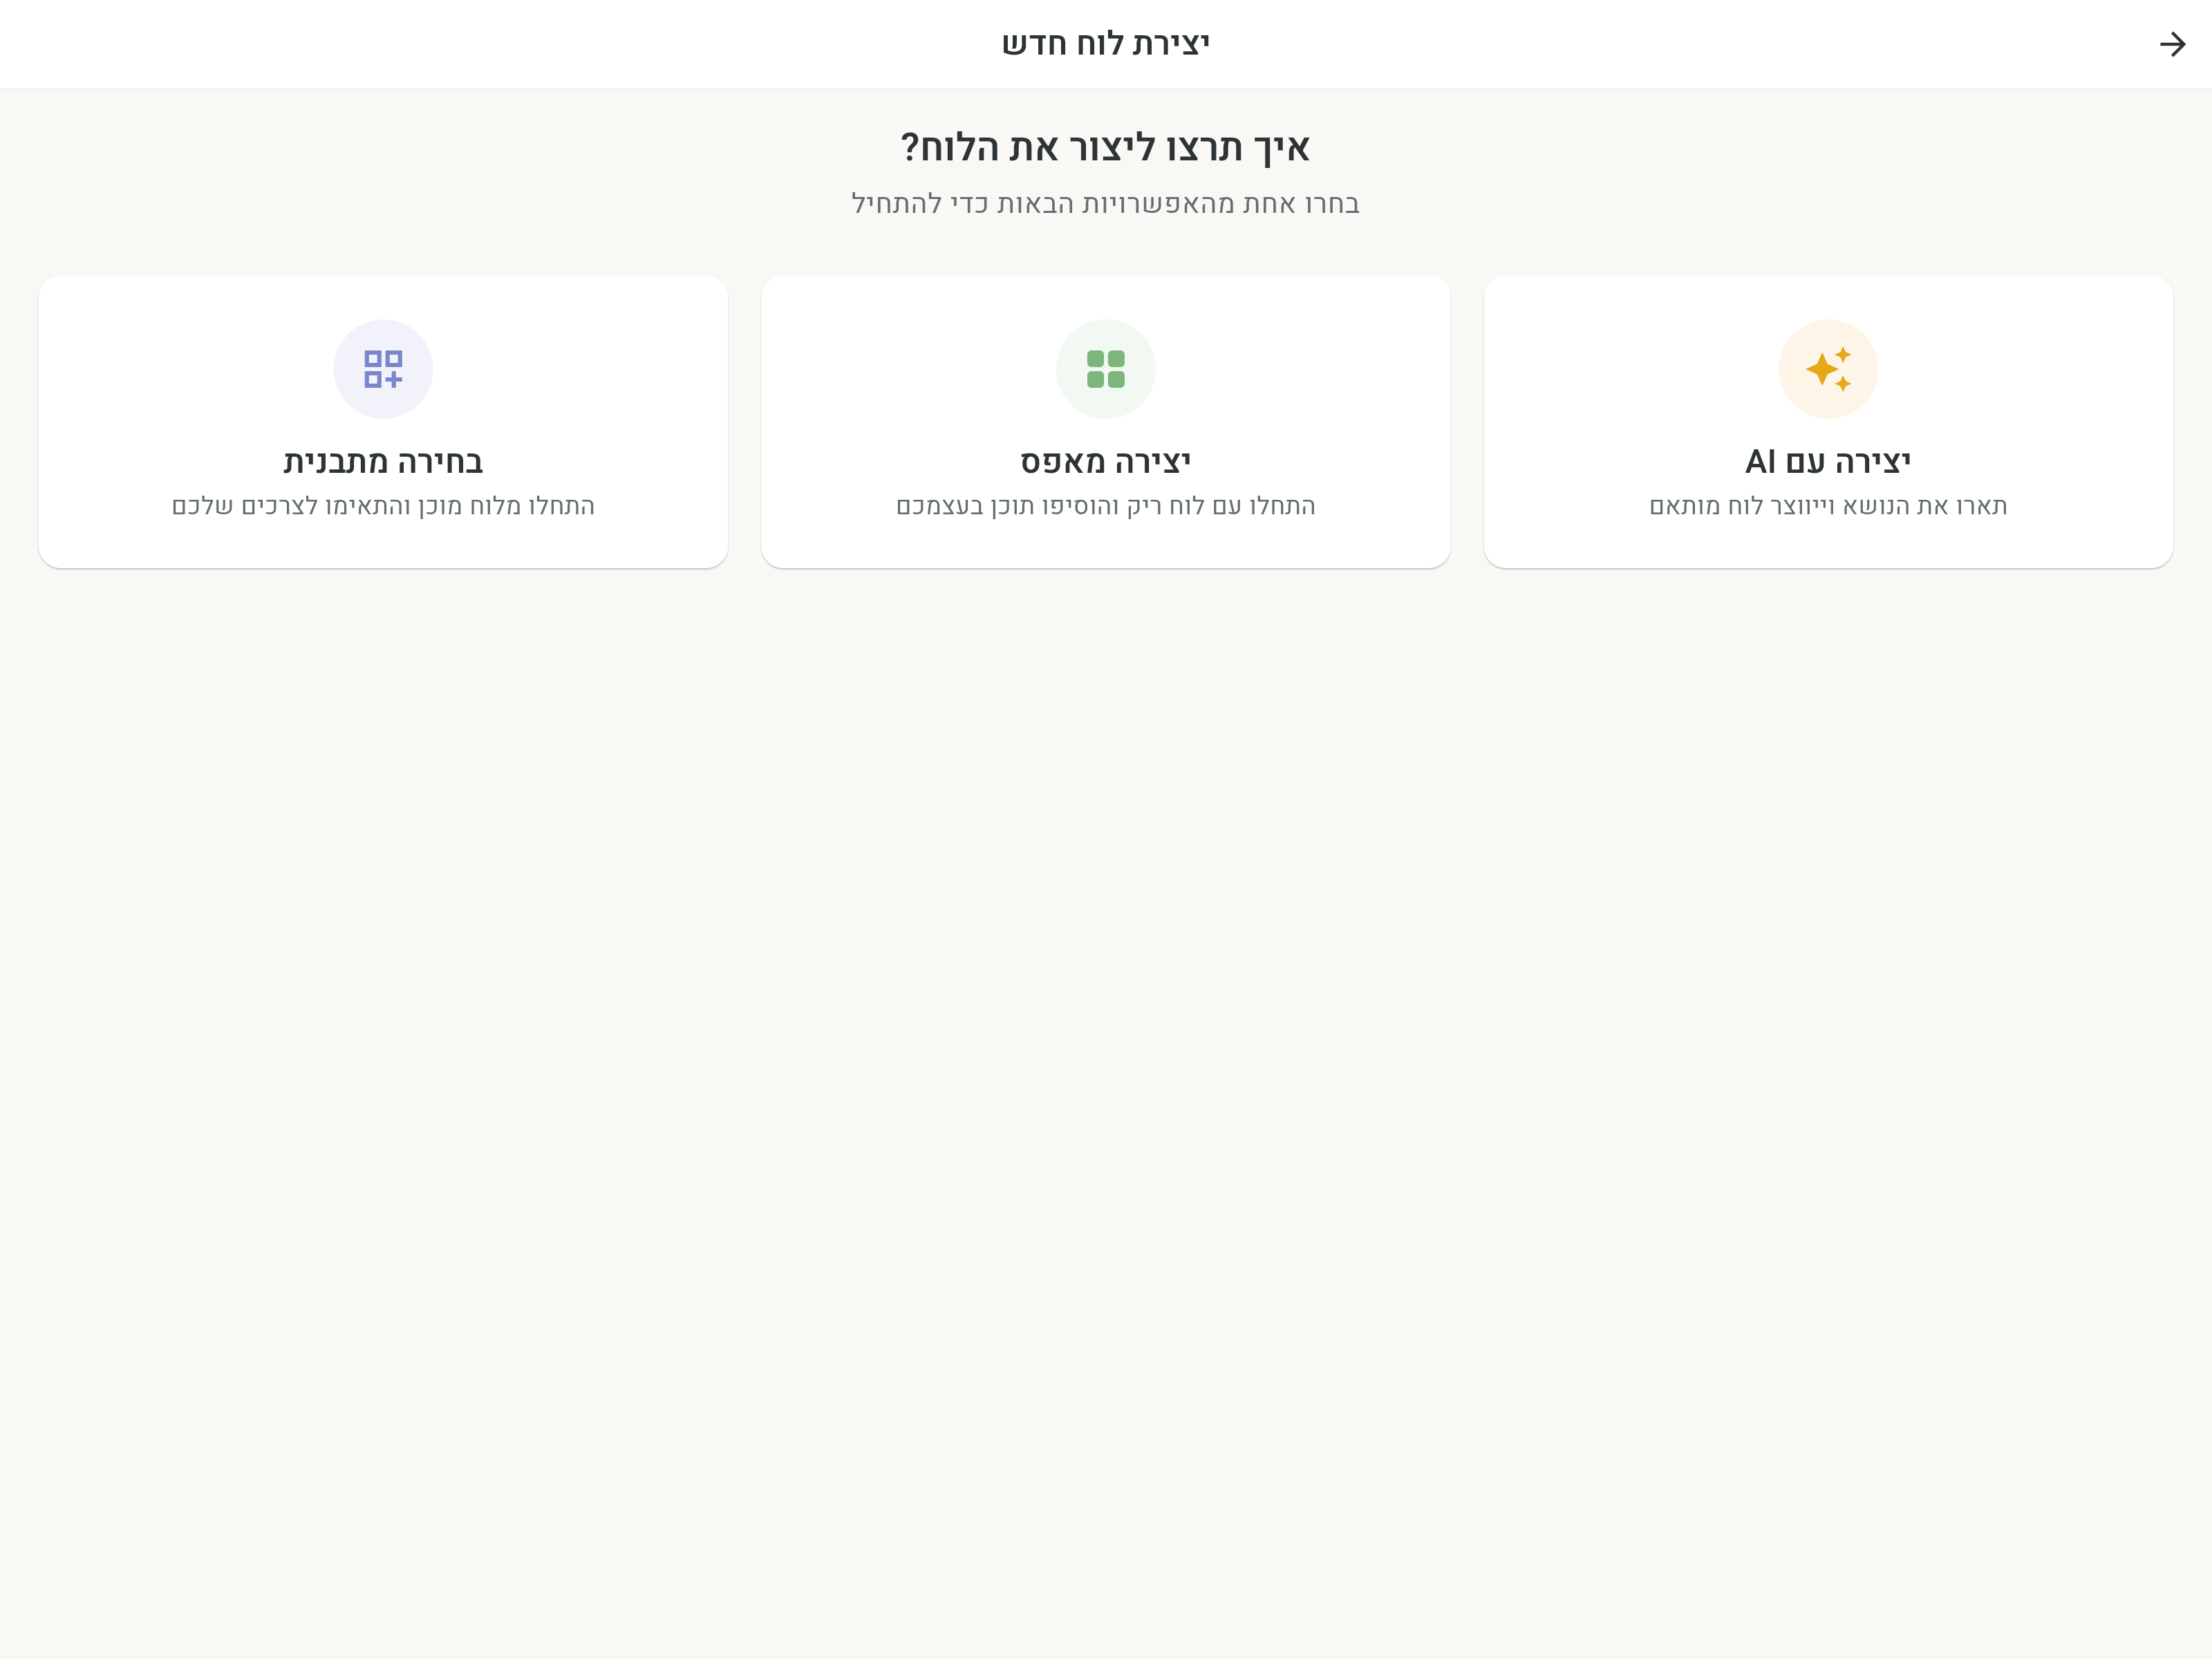
Creating with AI
The fastest way: describe the topic — and a tailored board is created, with words, pictures, and colors by category.
- Choose Create with AI.
- If you like, enter a Board name — you can also leave it blank, and the name will be set automatically.
- In Board description, write what you need in your own words. The more specific the description, the more accurate the board — for example: "Class trip up north — nature, outdoor food, activities" or "Cooking lesson — ingredients, kitchen tools, preparation steps". Details about the user (name, age, description) are taken automatically from the profile settings.
- Tap Create smart board — and within moments the board is ready, word by word.
A board with sub-boards
When the description explicitly asks for it, a group of linked boards is created instead of a single board — for example: "A food board with sub-boards for fruit, vegetables, and drinks". In that case a main board is created, with folder tiles that open into sub-boards (up to four boards in total); each sub-board has a Back tile that returns to the main board. If you already have suitable boards, you can also ask for links to them. A regular request — even about a broad topic — always creates one board.
A regular folder tile (for example "Animals") opens the sub-board, and you stay there until Back is tapped. A tile that starts a sentence (for example "I want", opening a board of things to ask for) returns to the main board automatically right after one word is chosen — so the sentence completes in one flow. This behavior can be changed for any tile in tile editing.
The process takes a little longer than creating a single board, and the waiting screen shows a small preview of every board in the group — words appear in it live, and a ✓ mark shows a board that is finished. If one of the sub-boards fails to be created, the main board is still created — its link simply won't appear.
Creating a board from a photo
Inside the AI creation screen you can also attach a photo — From gallery or with Take photo — for the AI to base the board's words on. For example: a photo from the family trip will produce a board that talks about exactly what's in it. A written description becomes optional when a photo is attached.
In addition, the Add the photo itself to the board toggle sets whether the photo you attached also appears as a tile on the board — it will be placed in the top corner, next to the fixed words.
Creating with AI requires an internet connection and a signed-in account. All the other ways of creating work without internet too. Smart creation comes with a generous monthly allowance; if it runs out, a message shows the renewal date — and the allowance renews automatically every month.
Starting from scratch
Choose Start from scratch to begin with an empty board: enter a name, adjust the settings (see below), and tap Create board. Then add tiles by tapping empty cells in edit mode.
Choosing a template
Choose Choose a template to start from a ready-made board: all the templates from the "Template boards" category on the home screen are shown, and tapping a template creates a new board with all of its cells — ready to customize.
Board settings at creation time
When creating with AI or from scratch, you can already set on the creation screen:
- Grid settings — the board's number of columns (2–16) and number of rows (2–8).
- Background color — the board's background color.
- Under More settings: the reading line — whether to show it, its position (top or bottom), and its display mode (picture + word, word only, or picture only). When creating with AI, the board language (עברית, English, or العربية) also appears here — it defaults to the app language, and choosing another generates the words and images in the chosen language.
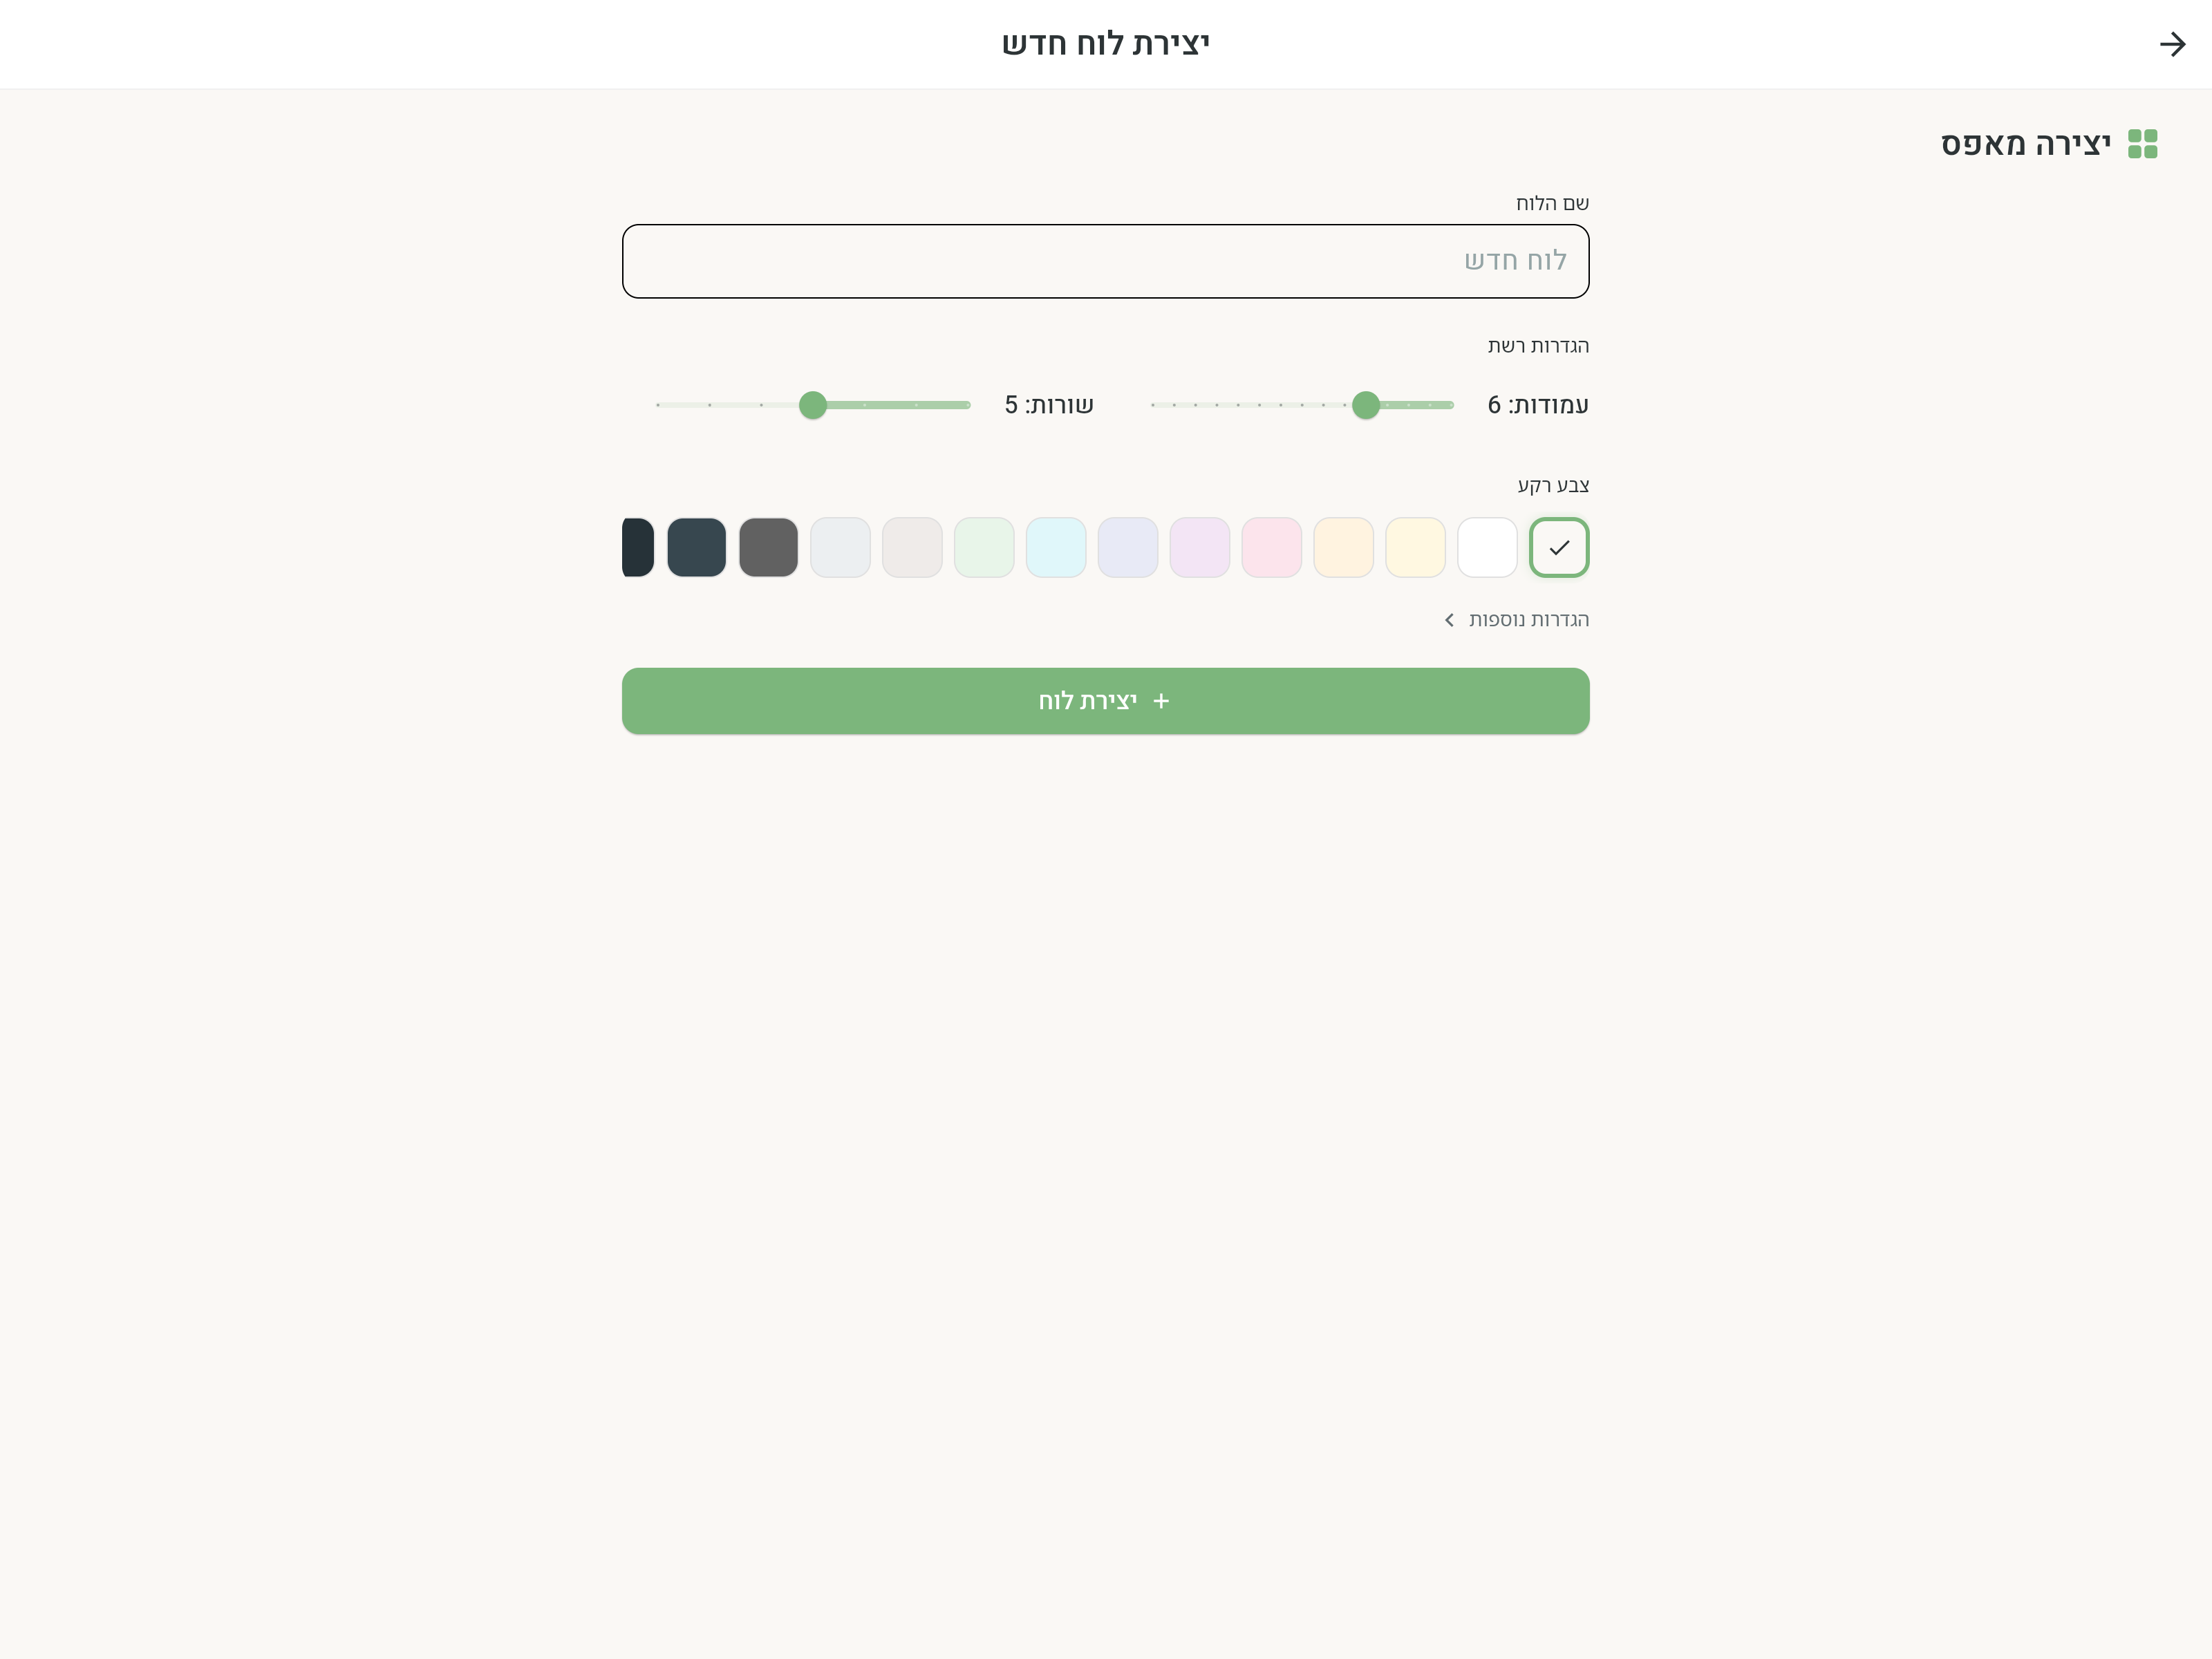
All of these settings — and many more — are available at any time through Board Settings.
Boards that come ready-made
Not every board has to be created: the "Emorli boards" category on the home screen includes professional, ready-to-use boards, and professionals can send boards straight to your device — they appear in their own category on the home screen.